Are you looking for a budget-friendly, stylish, and functional pet house that blends seamlessly with your home decor? A minimalist DIY pet house is the perfect solution! In this guide, we’ll walk you through an easy-to-follow, step-by-step process to build a cozy, modern pet house under $50. Let’s get started! 🛠️🐾
Materials You’ll Need (Estimated Cost: $50 or Less)
✔️ Plywood or MDF Board (1 sheet, ¼ inch thick) – $20
✔️ Wood Screws or Nails – $5
✔️ Non-Toxic Wood Glue – $5
✔️ Sandpaper (Fine Grit) – $3
✔️ Paint or Wood Stain (Optional) – $7
✔️ Cushion or Small Pet Bed – $10
✔️ Basic Tools: Saw, drill, measuring tape, pencil
Total Estimated Cost: $50 or less 🎉
Step 1: Plan and Measure Your Pet House
Before cutting, determine the right size for your pet. Here’s a basic guide:
📏 Small pets (cats, small dogs): 18″ (W) × 18″ (D) × 18″ (H)
📏 Medium pets (Cocker Spaniel, Beagle): 24″ (W) × 24″ (D) × 24″ (H)
📏 Large pets (Labrador, Husky): 30″ (W) × 30″ (D) × 30″ (H)
Mark the cutting lines on the plywood using a pencil and ruler.
Step 2: Cut the Wood Panels
Using a saw, carefully cut five panels:
🛠️ Front Panel (with entrance hole)
🛠️ Back Panel
🛠️ Two Side Panels
🛠️ Top Panel (Optional for a closed house)
For the entrance hole, draw a circle or arch-shaped opening (big enough for your pet) on the front panel. Cut it out using a jigsaw.
Step 3: Smooth and Sand the Edges
To prevent splinters, use fine-grit sandpaper on all edges and surfaces. This will also help the paint or stain adhere better.
Step 4: Assemble the Pet House
🔹 Attach the side panels to the back panel using wood glue and screws.
🔹 Connect the front panel with the entrance cutout.
🔹 Secure the top panel if you want a closed house or leave it open for easy access.
🔹 Let the glue dry for at least an hour before moving to the next step.
Step 5: Paint, Stain, or Decorate (Optional)
For a modern minimalist look, use neutral colors like white, beige, or natural wood stain. If painting, use pet-safe, non-toxic paint.
🎨 Minimalist Color Ideas:
✔️ White with a matte finish
✔️ Light wood with a clear stain
✔️ Soft gray for a sleek, modern aesthetic
Let the paint dry completely before adding the cushion.
Step 6: Add a Cozy Cushion
Place a soft, washable cushion or a small pet bed inside for extra comfort. You can also add a small blanket to keep your pet warm.
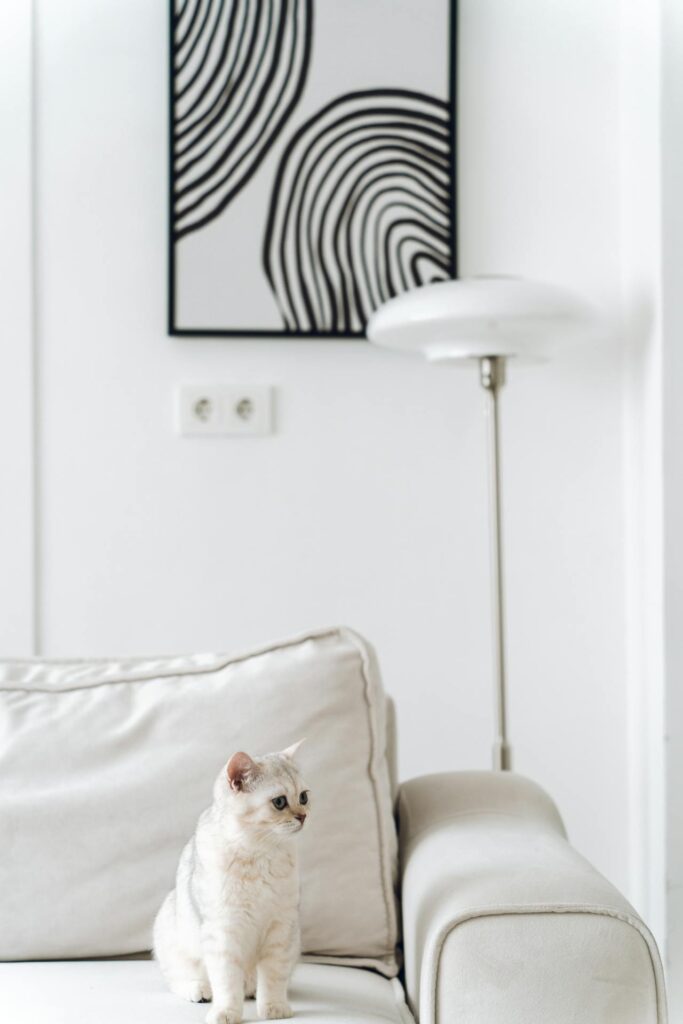
Step 7: Place the Pet House in a Cozy Spot
Find a quiet, comfortable area in your home where your pet loves to relax. Ideal locations include:
🏡 Near a window (for natural light)
🏡 Beside your sofa (so your pet stays close)
🏡 In a dedicated pet corner (to create a cozy retreat)
Final Thoughts
Building a minimalist DIY pet house is an affordable, fun, and rewarding project that gives your pet a stylish yet cozy home. With just $50 or less, you can create a space that’s functional, modern, and perfectly suited for your furry friend. 🐶🐱✨
Would you like more DIY pet furniture ideas? Stay tuned for more guides from PetMinimal!
1 Comment
Non nihil fugit id cum. Incidunt odio consequatur et deserunt sint et. Blanditiis deleniti quas quam in odit repellat. Aut libero autem repellendus provident et enim natus a. Ad quam saepe praesentium. Nostrum nisi quos totam quia perferendis. Fugit id magnam aut quam nostrum quia.